Setting Up Workgroups
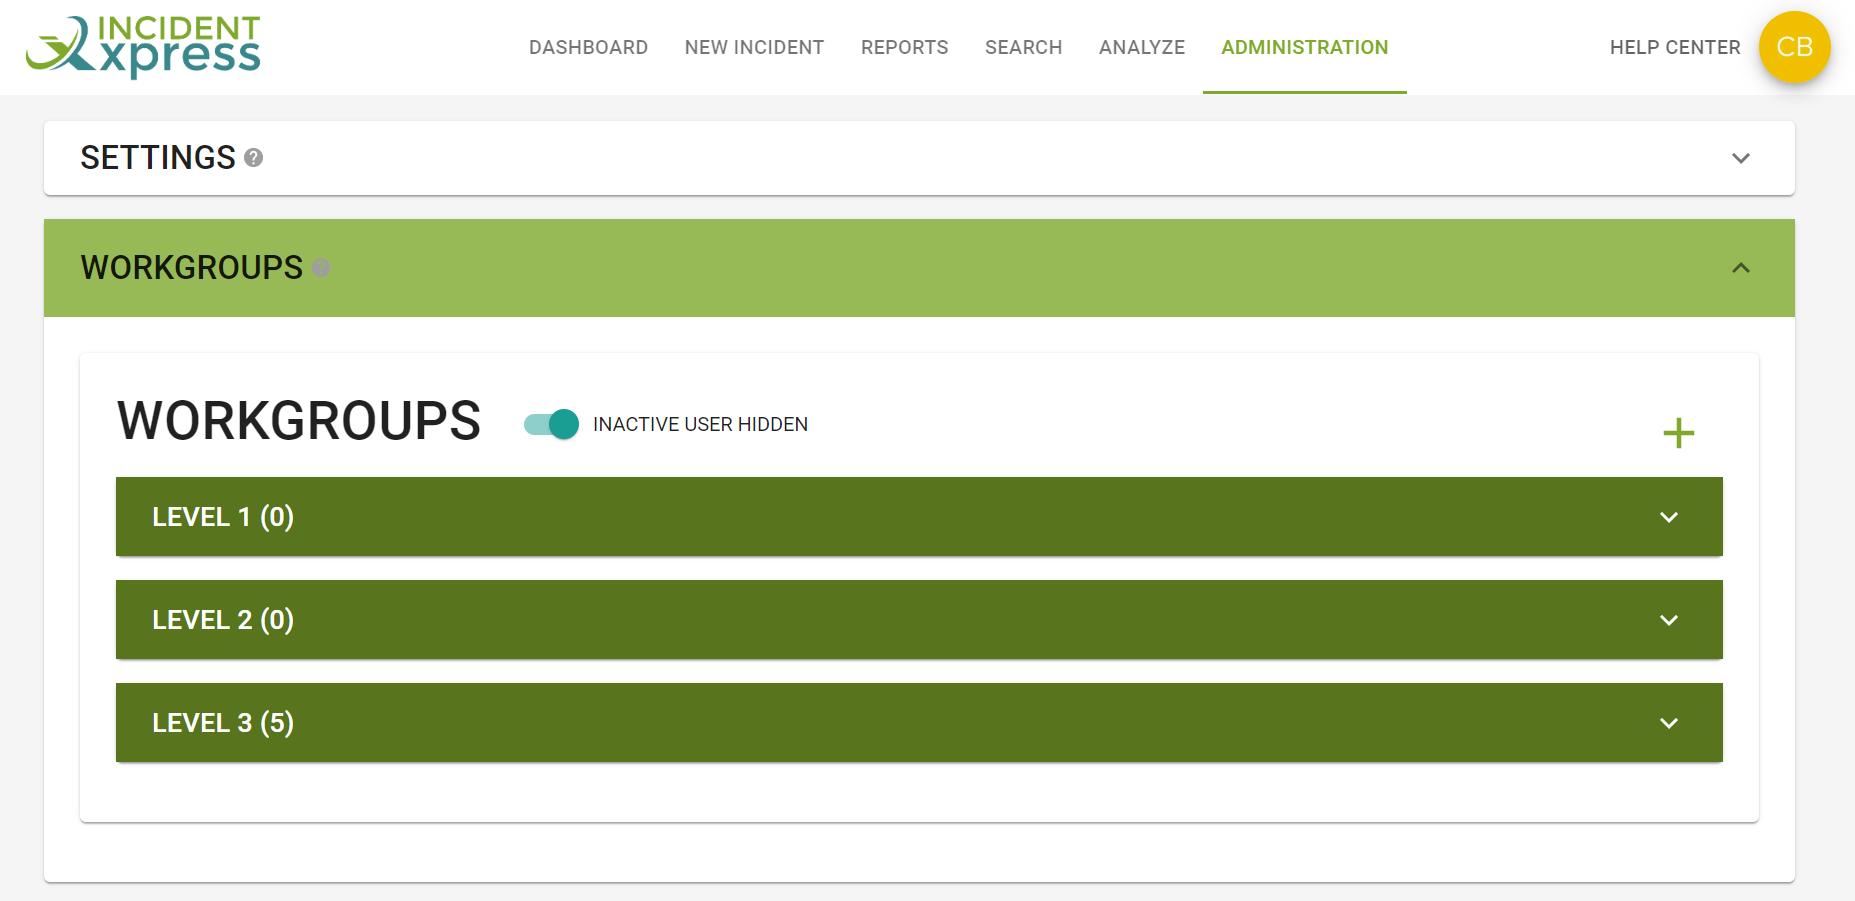
Select the Workgroups section to open it. The open view displays a list of the workgroups that currently exist in Incident Xpress.

Figure: ADMINISTRATION screen - Workgroups
You can select a workgroup to expand the list of users who belong to it.

NOTE: The default names for the different levels of workgroups are for illustration purposes and can be edited to more user-friendly names such as Administrator, Managers, Security Officers, etc.
Task: Create a New Workgroup
Use the following steps to create a new workgroup.
1. Select the plus sign [+] to open the "Edit Workgroup Privileges" screen. This is where you will name the workgroup and select the privileges you want associated with that workgroup.Figure: ADMINISTRATION screen – Edit Workgroup Privileges
2. Enter a name for the new workgroup.3. If you want users in this workgroup to have every available privilege, select the "Is Admin?" toggle switch to automatically select ALL privileges. You can then skip the following steps and simply select the [SAVE] button to save the new workgroup. Otherwise, go to the next step.4. In the "Users" option, use the toggle switches to select if users in the workgroup can add/edit/delete other user accounts.5. In the "Workgroups" option, use the toggle switches to select if users in the workgroup can add/edit/delete other Incident Xpress workgroups.6. In the "Lookups" option, use the toggle switches to select if users in the workgroup can add/edit/delete application lookup lists. (For more information, see the Lookup Lists section of this manual.)7. In the "My Incidents" option, use the toggle switches to select what actions users in the workgroup can perform on the incident records they create.8. In the "All Incidents" option, use the toggle switches to select what actions users in the workgroup can perform on any incident record entered in Incident Xpress.9. In the "Misc" option, use the toggle switches to select if users in the workgroup can perform analysis on incident records, create and/or print reports, or view privacy information.10. The “Admin” options should be strictly reserved for the System Administrator and his/her backup. In the “Admin” option, use the toggle switches to select if users in the workgroup can lock incident records, view audits, open a closed incident record, edit the Incident Xpress subscription, delete attachments or delete incident records.11. When the required options for all users in that specific workgroup have been selected, select the [SAVE] button to save the new workgroup.
Task: Edit or Delete a Workgroup
Use the following procedure to make edits to an existing workgroup.
Figure: ADMINISTRATION screen – Editing or Deleting a Workgroup
1. Select the workgroup you want to edit, and then select the [EDIT GROUP] button to open the "Edit Workgroup Privileges" screen. Alternatively, if you want to delete the selected workgroup, select the [DELETE GROUP] button.2. Use the toggle switches to select any privilege settings you want to edit for the workgroup. You can also enter a new name for the workgroup if you wish.3. Click the [SAVE] button to save the edits.
Task: Add a User to a Workgroup
Use the following procedure to add a user to a workgroup.
1. Select the workgroup you want to add the user to, then select the [ADD USER] button.Figure: ADMINISTRATION screen – Adding a User
2. Type the user's details into the appropriate fields. The fields marked with an asterisk are mandatory.3. Select the [ADD] button to add the user to the selected workgroup. The user will be sent an email asking them to verify their account.Figure: Verification Email – New User
4. If they do not receive the email, in the user account, you can resend the verification email by using the [RESEND EMAIL VERIFICATION] button.
Related Articles
Introduction
Welcome to the Incident Xpress User & Admin Guide. This guide will help your organization get the most out of its investment in Incident Xpress (iX). Features and Benefits Incident Xpress's functionality is split into the following sections: ...Subscription
Select the Subscription section to view the details of your organization's Incident Xpress subscription. Here is where your Billing Address and Payment Method is displayed, as well as the current subscription plan, the renewal interval (monthly or ...iX Tutorial Video - User Dashboard
This tutorial video explores the functionality of Incident Xpress' user dashboard. Get an in-depth look at what incident data and report information is accessible via the user dashboard. Want a more comprehensive overview of Incident Xpress incident ...User Getting Started Guide - Entering a New Incident
Thank you for subscribing to your FREE TRIAL of Incident Xpress (iX). We at Incident Xpress are confident that you will learn a lot about iX in the process of working through this guide. This exercise is provided to assist you in determining how easy ...Important Terms
Here are some of the common terms you'll find in Incident Xpress (IX) with a description of what each term refers to. Audit Audit is the applications built-in ability to track and report on a specific user's activity in the system. NOTE: The Audit ...